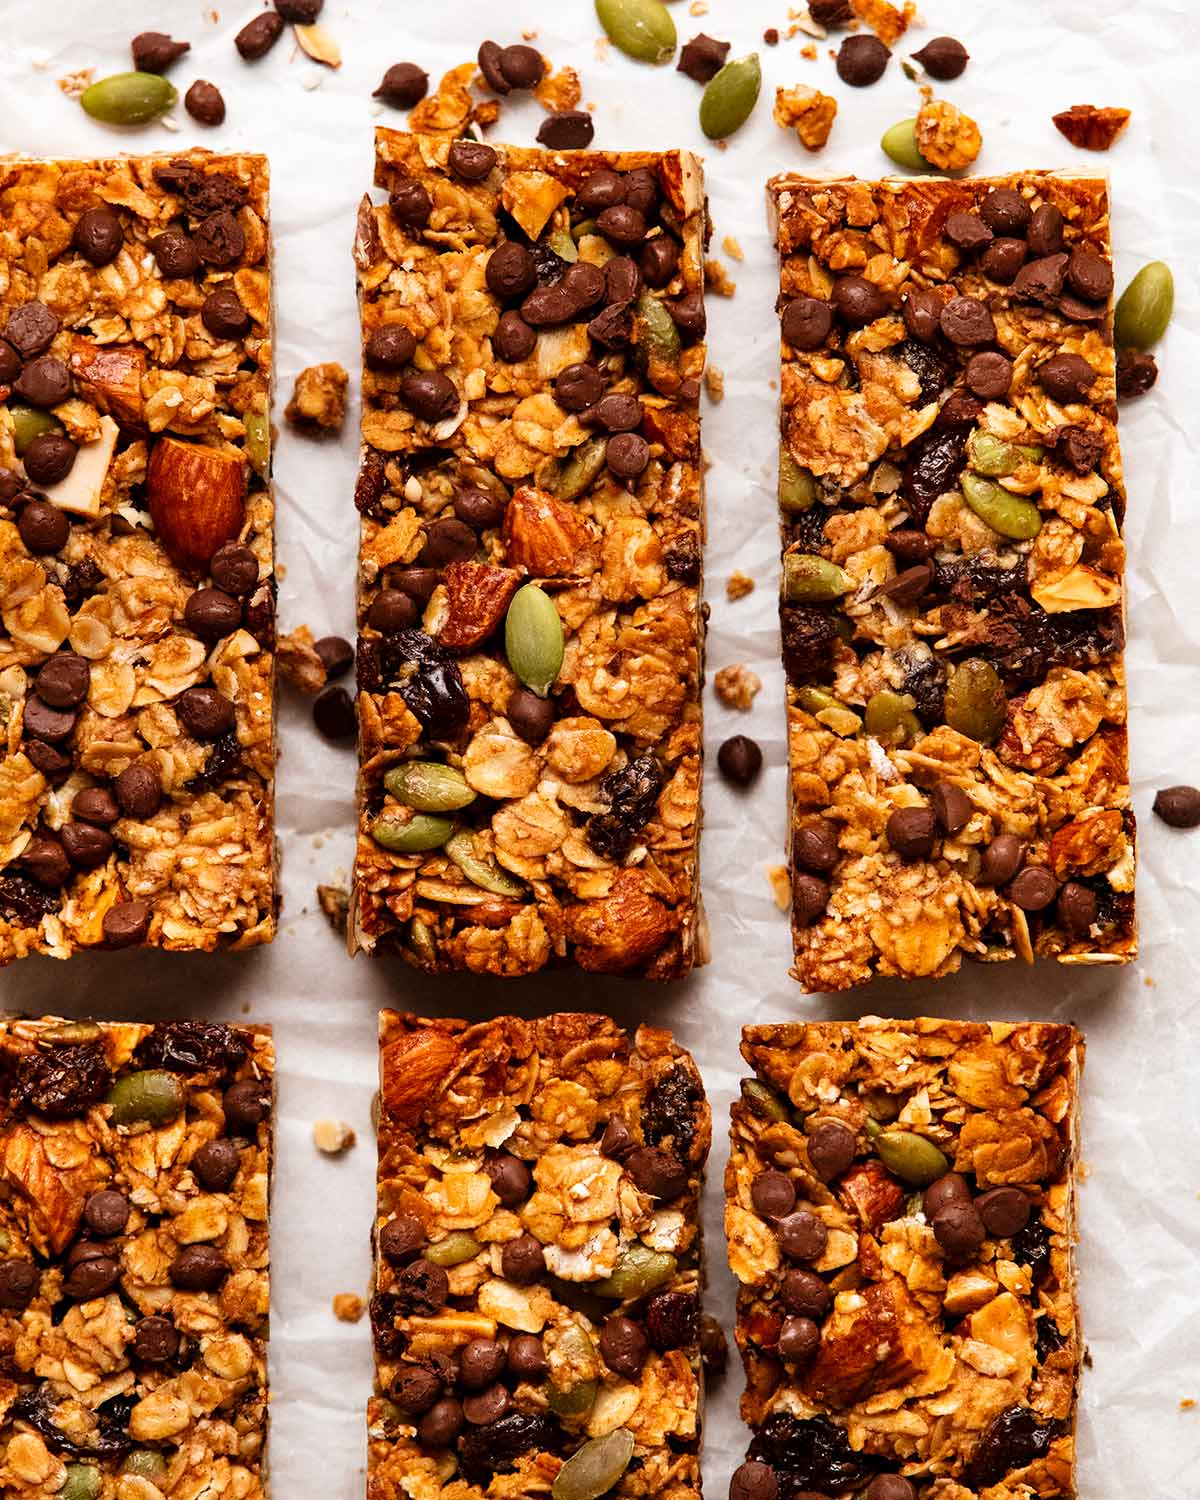
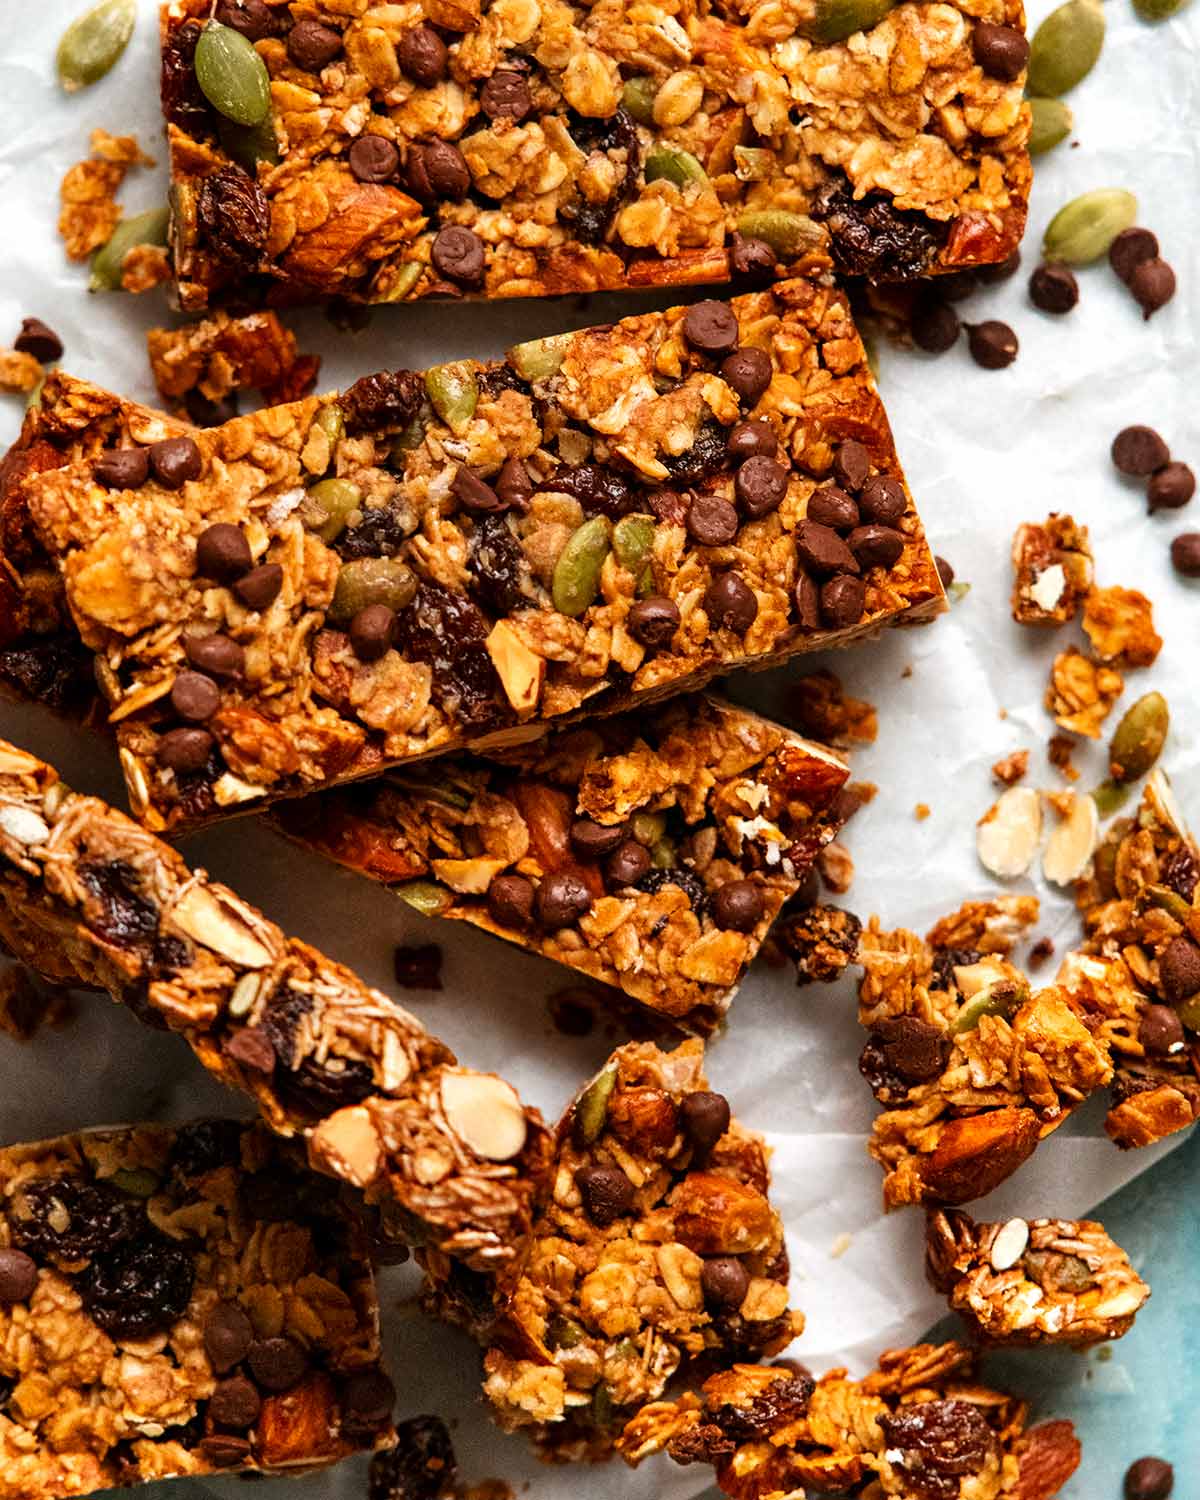
Adapted from my chewy muesli bars, this is a recipe for crunchy muesli bars that stay crunchy for over 3 weeks! I munch on these as a sweet-treat fix, yet they’re healthy enough for breakfast because they’re sugar-free. Endlessly customisable!
In pursuit of crunchy muesli bars
Chewy muesli bars are so easy to make. They don’t even need to be baked!
Crunchy muesli bars, however, were irritatingly difficult to crack. At least, without using sugar. Wildly popular crunchy muesli bars from my school playground days (mysteriously difficult to find these days – if at all?) had a frightening amount of sugar in them for something marketed as “healthy”.
While I am not one to shy away from sugar in my baking, I just always feel that some things should be a little more wholesome. Muesli bars being one such thing!
CRACKING THE CRUNCHY MUESLI BAR CODE
In a nutshell – if you bake a basic muesli bar recipe, it will come out crunchy but doesn’t stay that way for very long. Sometimes a few hours, or the day at best. The next day they are chewy/sticky/sweaty.
For stay-crunchy muesli bars, I found I had to do a double-bake situation:
-
toast the oats and nuts
-
mix with glue (peanut butter and honey)
-
press in pan, chill to firm
-
cut, then bake.
Lots of iterations of the above were tried in pursuit of this final recipe! I hope you love and munch on these crunchy muesli bars for many years to come. 🙂
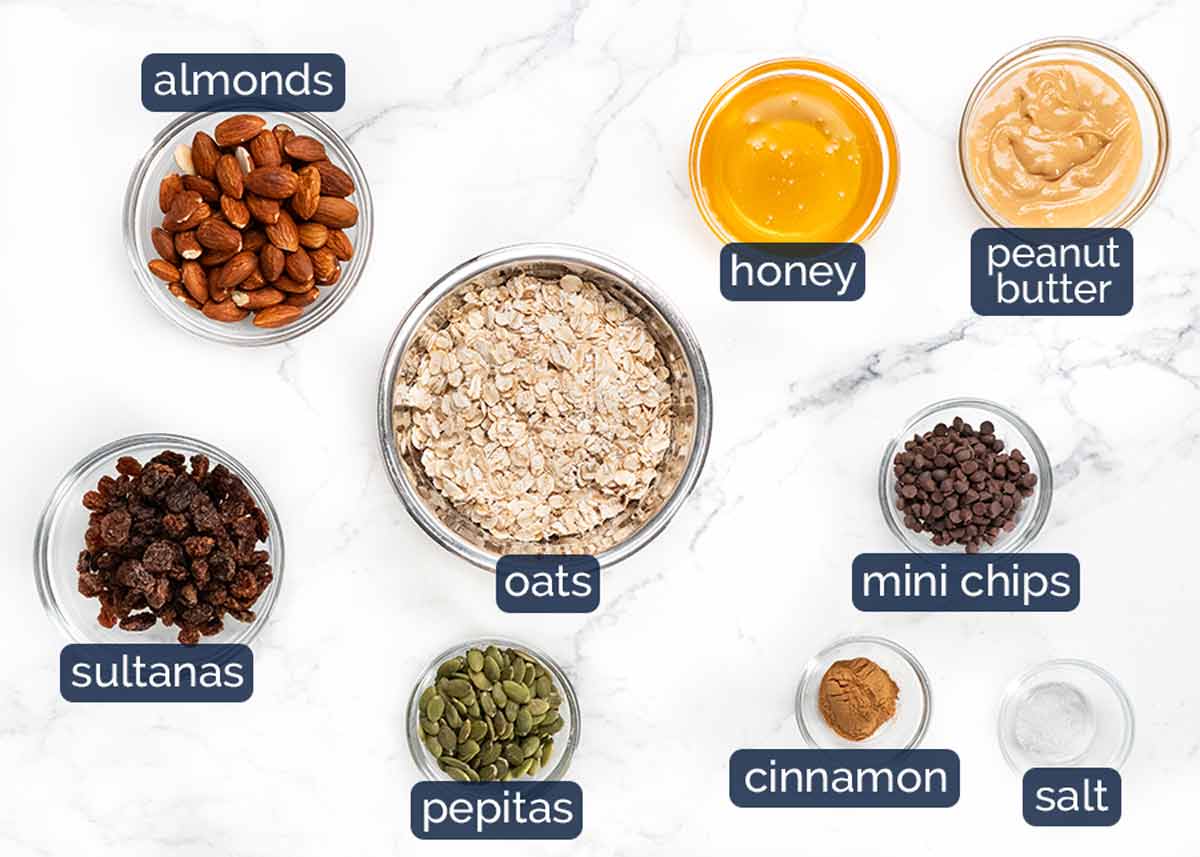
Ingredients in crunchy muesli bars
Excellent recipe to cater to nut allergies! Just use 2 3/4 cups of “anything you want” though I’d use at least 3/4 cup of oats (my recipe uses 1 1/2 cups) for muesli-bar density. Any less and you will start moving into nut-bar territory (chunkier) and the glue (peanut butter + honey) may be insufficient to hold the bar together.
Express pass: Just use 2 3/4 cups of your favourite muesli mix!
-
Natural peanut butter – This recipe calls for natural peanut butter which is just pure peanuts without sugar and salt added. It’s runnier than commercial peanut butter spread (Bega/Kraft, Skippy, Jif) so it’s easier to mix through. I fear if you try this with commercial peanut butter spread, you will be cursing me with a thick doughy mixture! (Also, pure peanut butter is healthier – no palm oil, no sugar etc).
I use smooth but crunchy is fine too.
Non-peanut alternatives – Hazelnut, almond and cashew butter work great! While tahini would be an option I think the sesame flavour would dominate a little too much.
-
Honey – The sweetener for the glue and also what makes the muesli bar crunchy once baked. Maple syrup also works but they are not quite as crunchy and don’t hold together quite as well. But a good alternative.
-
Rolled oats – Just plain rolled oats, like we use for recipes like oatmeal cookies and Anzac biscuits. Not quick oats, not a ready-made porridge mix, not steel cut oats.
-
Almonds – I like chunky bits of almonds in my muesli bars. It’s best to give them a rough chop else you end up with giant pieces of almonds throughout which can make it more difficult to get clean cuts.
-
Pepitas (pumpkin seeds) – These always make an appearance in my muesli bars for a nice splash of green colour.
-
Sultanas – My nostalgic dried fruit of choice, though you can absolutely substitute with anything you want.
-
Cinnamon – For flavour. Pumpkin spice mix is also lovely, as is a dab of vanilla extract (mix into the glue). Other spices I like to dabble with include: all spice, mixed spice and ginger.
-
Salt – Don’t skip this! Just a touch makes a difference. It does not make it salty.
-
Mini chocolate chips (optional) – The choc chips in store bought choc chip muesli bars are mini ones which are smaller than regular choc chips used in cookies. Mini ones are about 5mm / 0.2″ wide. I found them at my local Scoop Wholefoods (one of those places where you help yourself and pay by weight) but since deciding to publish this recipe, they have become strangely hard to find! So don’t fret if you can’t find them, just use regular ones.
Alternative – Chocolate drizzle across the top. Do this after baking! I just pop a small handful of chocolate chips or chocolate melts in a small ziplock bag. Microwave until melted, snip the corner off then drizzle across the muesli bars.
How to make crunchy muesli bars
The order of the steps matter for long-lasting crunchiness!!! And cutting the muesli bars before baking to lock in crunchiness is key. 🙂
-
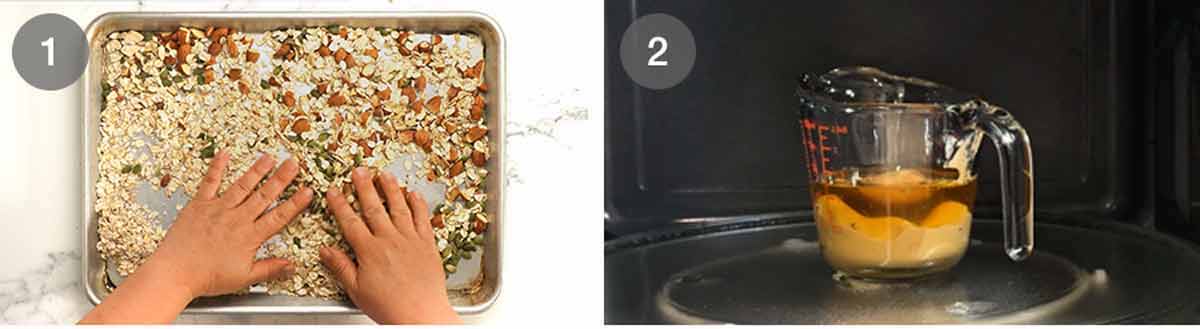
Toast the oats and nuts in the oven for just 10 minutes. Drying out the oats a bit is a crunchiness insurance step, and toasting the nuts brings out the flavour.
-
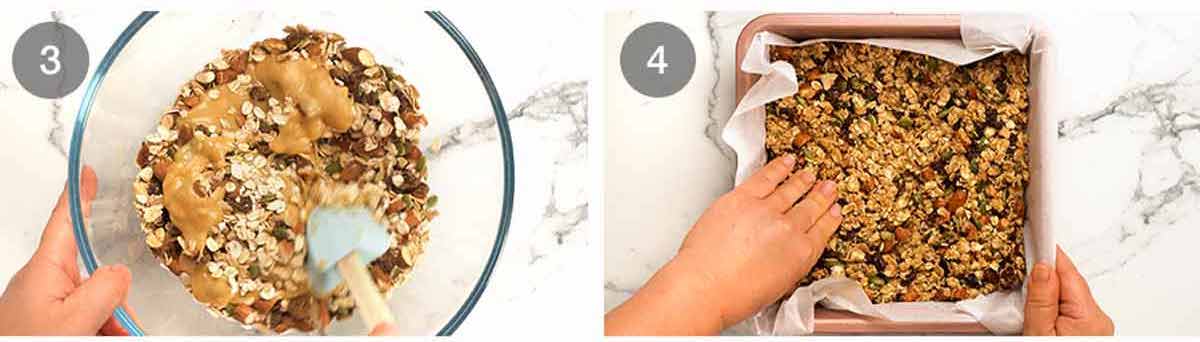
Muesli glue – Warm the peanut butter and honey in the microwave (just 30 seconds) then give it a good mix to combine. The mixture is thinner when it’s warm which makes it easier to mix through.
-
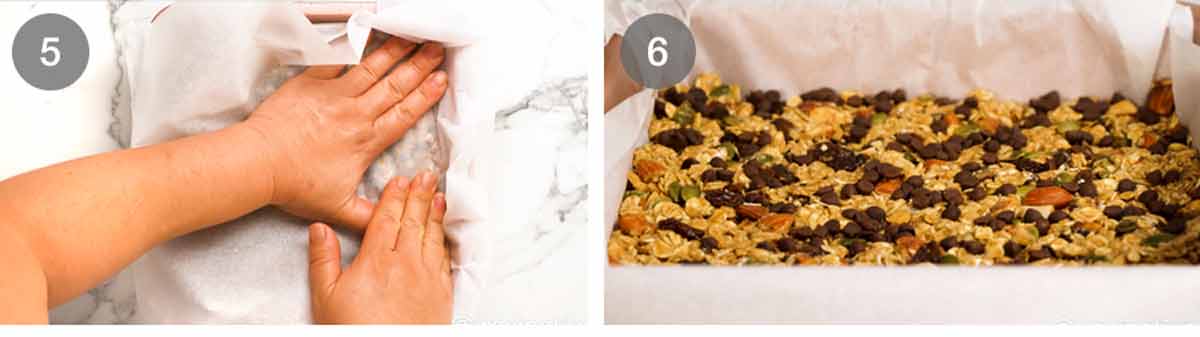
Mix – Put the warm oats/nuts into a heatproof bowl and add everything else: dried fruit, cinnamon powder and salt. Pour over the warm glue then mix until thoroughly combined. It might seem like there’s not enough glue, but there is! Persist, use a cutting motion if needed. If it gets too hard to mix, microwave the bowl for 20 seconds which will loosen the mixture up and make it easier to mix.
-
Press – Put a sheet of paper over a 20 cm / 8″ square pan (no need to grease and create more washing up for yourself). Then press the mixture evenly into the pan. Hands is easiest, I find.
OPTIONAL CHOC CHIPS
-
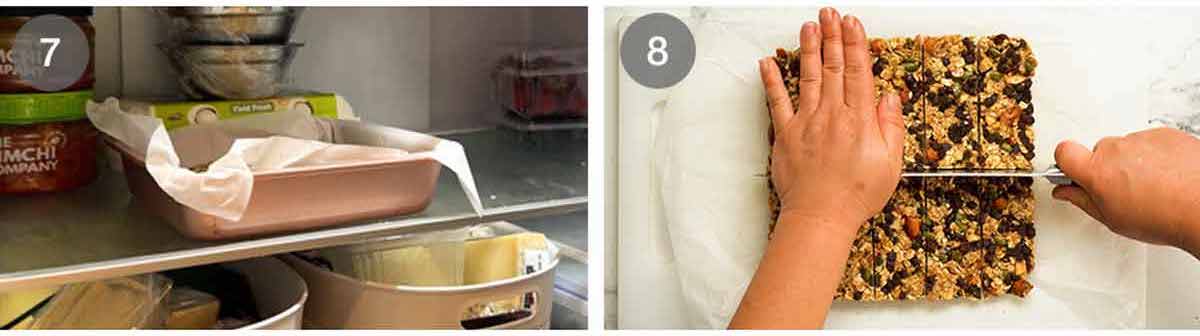
Cool then press – If you are topping your muesli bars with choc chips, let the mixture cool a bit first else the choc chips will melt! Then sprinkle across the surface and press in by covering with another sheet of paper (to prevent melting on contact with your hands).
-
Choc chips – post press!
-
Fridge – Put the pan in the fridge for 1 hour or until it is firm enough to lift the whole slab out without it sagging. At this stage, these are chewy muesli bars so you can eat them as is. But if you are in pursuit of crunchy, plough on!
-
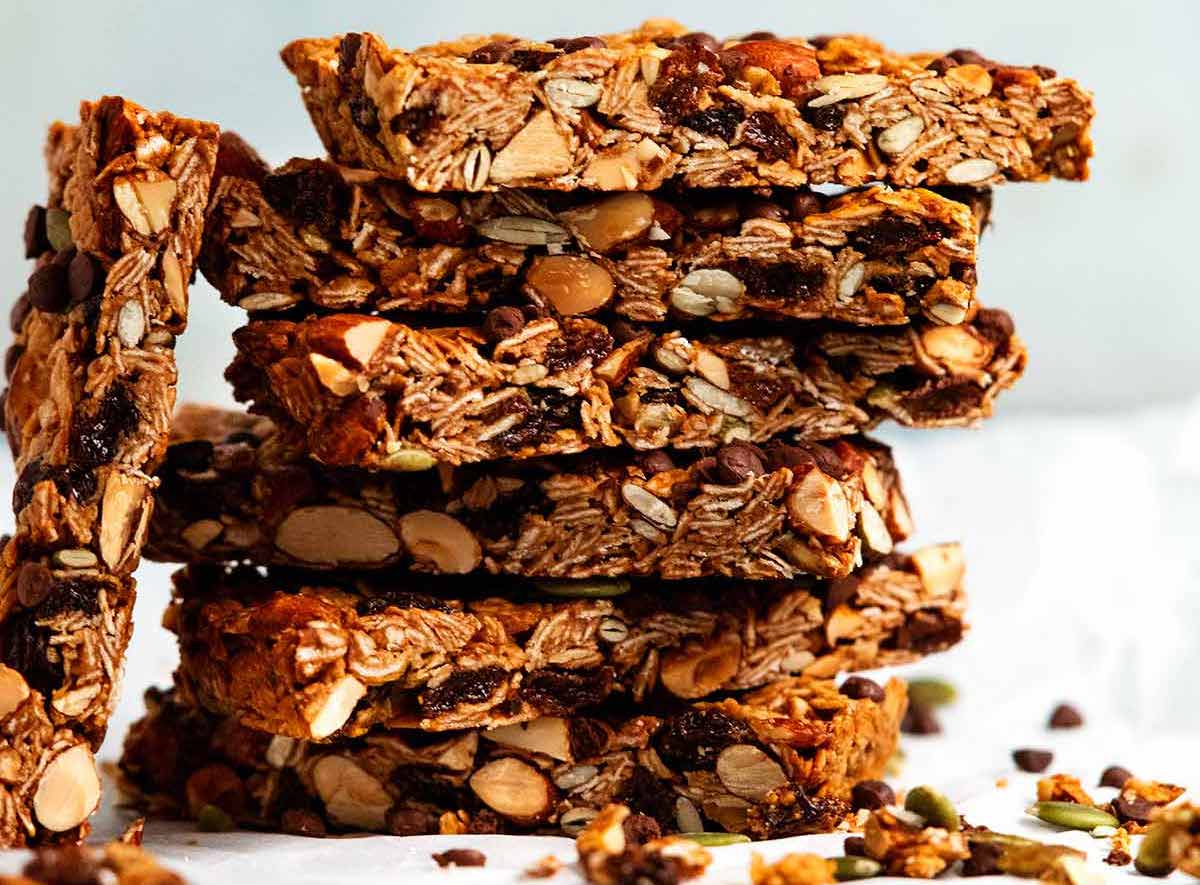
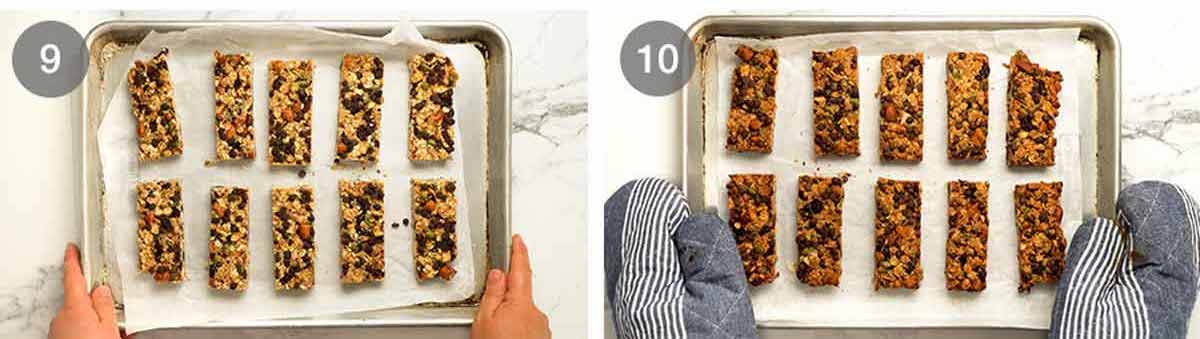
Cut into 10 bars.
-
Bake for 25 minutes in a moderate oven (160°C/325°F (140°C fan-forced) until they are quite golden. You need to be brave here because pale = not as crunchy as they could be, but burnt = bitter! Check at 22 minutes to be cautious.
-
Cool for crunch! You will be able to feel that the muesli bars are crunchy but touching them. But don’t try to move or pick them up until they are fully cool so they will set and harden.
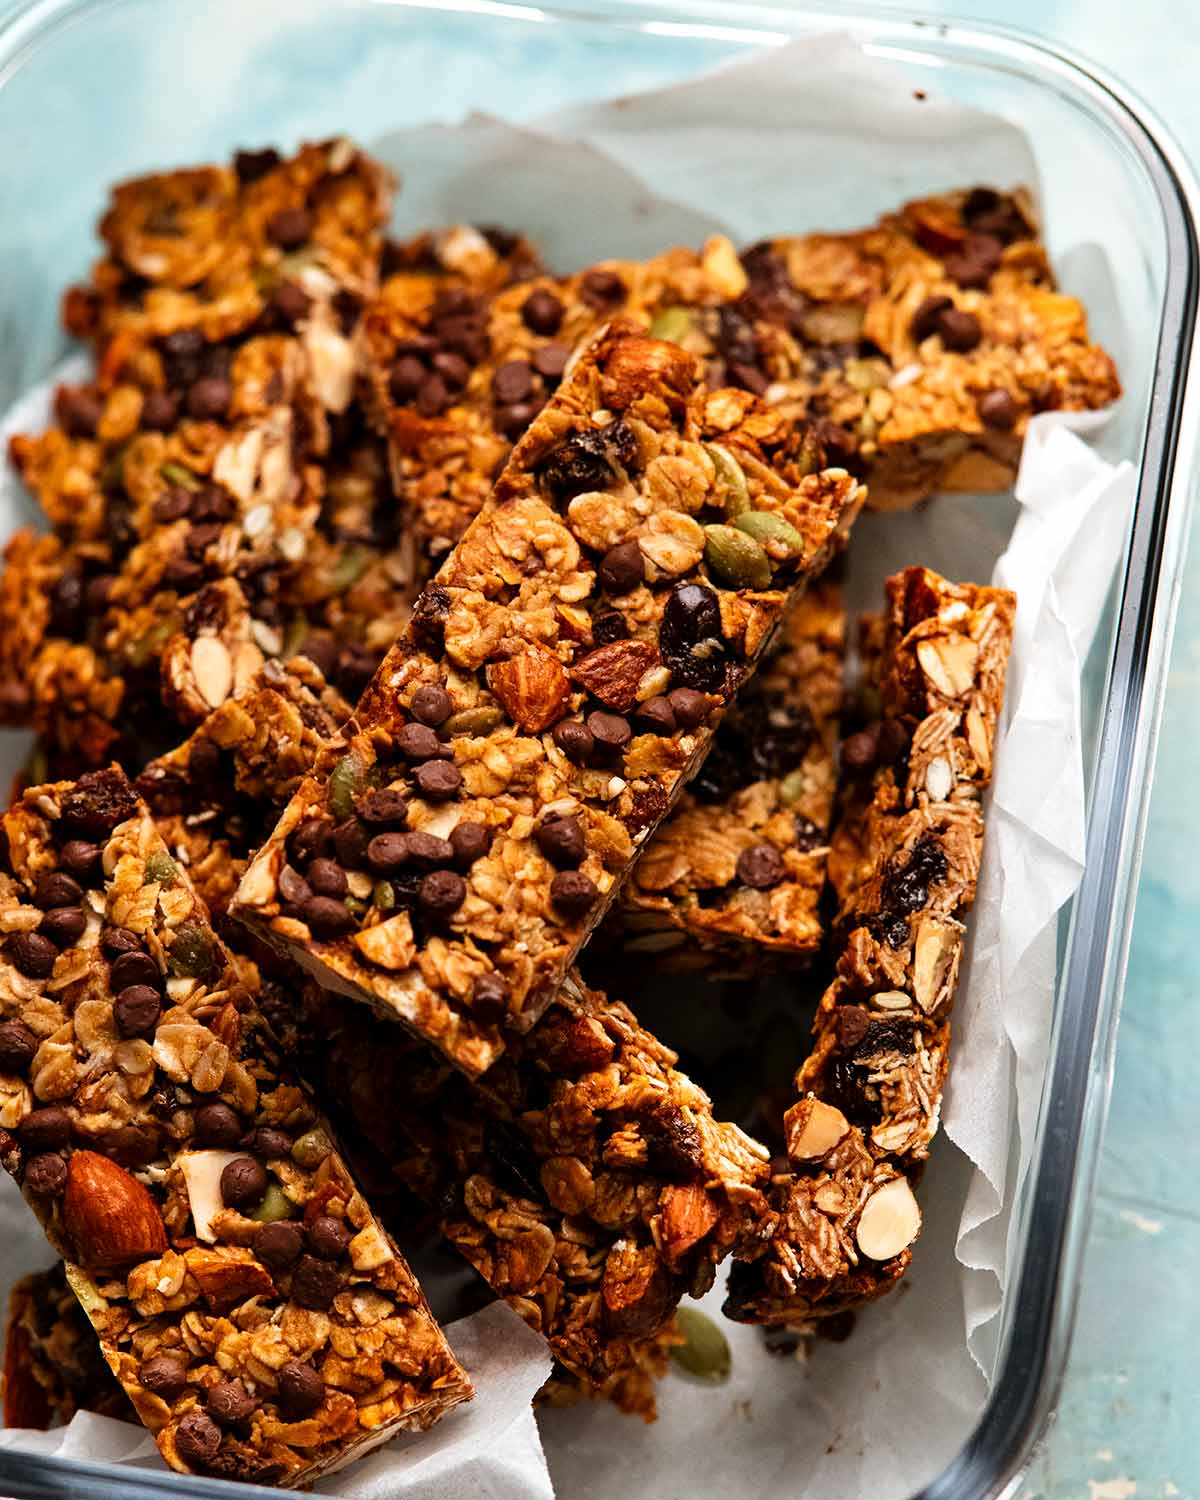
Storing crunchy muesli bars
Once fully cool, store them in an airtight container to preserve crunch. In “normal” weather, they will stay crunchy for up to 5 days just keeping them in the pantry. This also means you can pop them in a lunchbox and they’ll stay crunchy!


")
